来自3D坦克-WIKI
3dtankwiki>Wiki-editor-3dtank 小 链接直接指向现有规范页面;不创建缩写或旧标题页面 |
Wiki-editor-3dtank(留言 | 贡献) 小 导入1个版本 |
||
| (未显示3个用户的9个中间版本) | |||
| 第7行: | 第7行: | ||
* {{TopNavigationButtons/Button|text=雪人指南|link=|image=[[File:Guides-new.png|link=]]}} | * {{TopNavigationButtons/Button|text=雪人指南|link=|image=[[File:Guides-new.png|link=]]}} | ||
}} | }} | ||
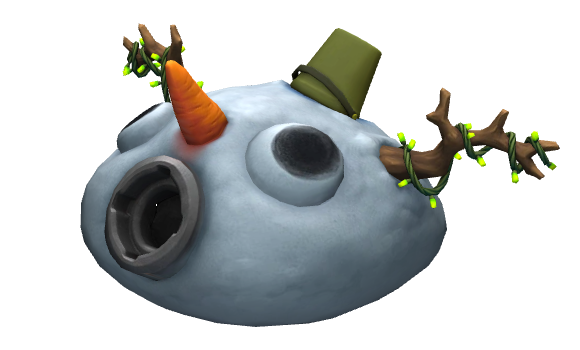
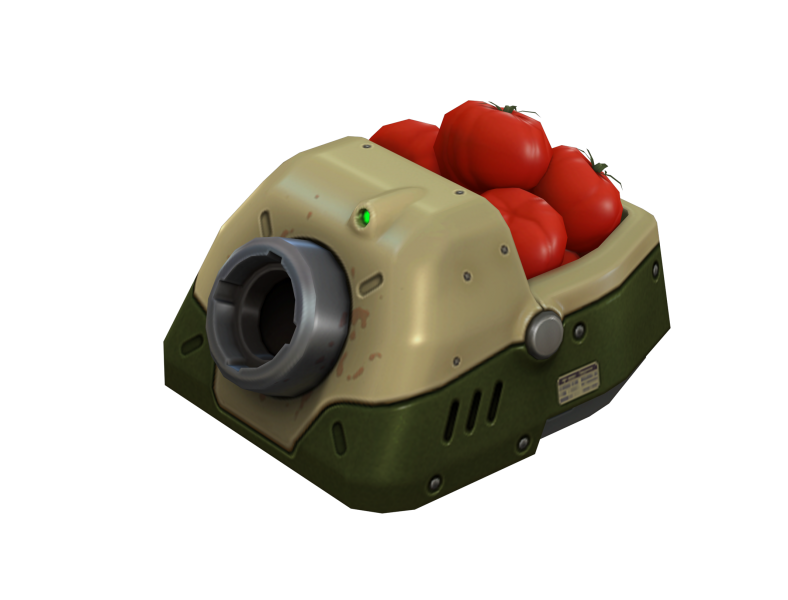
{{EquipmentHeader|title=雪人|image=Turret_Snowman.png}} | |||
{{TurretNavigation}} | {{TurretNavigation}} | ||
| 第14行: | 第14行: | ||
==属性参数== | ==属性参数== | ||
{{ | {{CharacteristicsTable}} | ||
{|class="wikitable-modern head-table default" style="width:60%" | {|class="wikitable-modern head-table default" style="width:60%" | ||
|-class="wikitable-header wikitable-title-center" | |-class="wikitable-header wikitable-title-center" | ||
| 第28行: | 第28行: | ||
</characteristics> | </characteristics> | ||
|} | |} | ||
{{ | {{CharacteristicsTable/Note|炮塔单发射击对目标造成的伤害。}} | ||
{{ | {{CharacteristicsTable}} | ||
{|class="wikitable-modern active default" style="width:60%" | {|class="wikitable-modern active default" style="width:60%" | ||
|- | |- | ||
| 第38行: | 第38行: | ||
</characteristics> | </characteristics> | ||
|} | |} | ||
{{ | {{CharacteristicsTable/Note|炮塔单发暴击时对目标造成的伤害。}} | ||
{|class="wikitable-modern active default" style="width:60%" | {|class="wikitable-modern active default" style="width:60%" | ||
|- | |- | ||
| 第47行: | 第47行: | ||
</characteristics> | </characteristics> | ||
|} | |} | ||
{{ | {{CharacteristicsTable/Note|对敌人造成暴击伤害的概率。}} | ||
{|class="wikitable-modern active default" style="width:60%" | {|class="wikitable-modern active default" style="width:60%" | ||
|- | |- | ||
| 第56行: | 第56行: | ||
</characteristics> | </characteristics> | ||
|} | |} | ||
{{ | {{CharacteristicsTable/Note|连续射击之间的停顿间隔时间。}} | ||
{|class="wikitable-modern default" style="width:60%" | {|class="wikitable-modern default" style="width:60%" | ||
|- | |- | ||
| 第65行: | 第65行: | ||
</characteristics> | </characteristics> | ||
|} | |} | ||
{{ | {{CharacteristicsTable/Note|将蓄能等级蓄至满级所需的蓄力时间。}} | ||
{|class="wikitable-modern default" style="width:60%" | {|class="wikitable-modern default" style="width:60%" | ||
|- | |- | ||
| 第74行: | 第74行: | ||
</characteristics> | </characteristics> | ||
|} | |} | ||
{{ | {{CharacteristicsTable/Note|在最低蓄力状态下击发时雪球的初速度。}} | ||
{|class="wikitable-modern default" style="width:60%" | {|class="wikitable-modern default" style="width:60%" | ||
|- | |- | ||
| 第83行: | 第83行: | ||
</characteristics> | </characteristics> | ||
|} | |} | ||
{{ | {{CharacteristicsTable/Note|在最高蓄能状态下击发时雪球的初速度。}} | ||
{|class="wikitable-modern default" style="width:60%" | {|class="wikitable-modern default" style="width:60%" | ||
|- | |- | ||
| 第92行: | 第92行: | ||
</characteristics> | </characteristics> | ||
|} | |} | ||
{{ | {{CharacteristicsTable/Note|瞄准时敌方目标保持高亮显示的最远距离。}} | ||
{|class="wikitable-modern default" style="width:60%" | {|class="wikitable-modern default" style="width:60%" | ||
|- | |- | ||
| 第101行: | 第101行: | ||
</characteristics> | </characteristics> | ||
|} | |} | ||
{{ | {{CharacteristicsTable/Note|弹丸几何中心至其碰撞边界的半径。弹丸与目标的间距在此范围内即可判定命中造成伤害。}} | ||
{|class="wikitable-modern default" style="width:60%" | {|class="wikitable-modern default" style="width:60%" | ||
|- | |- | ||
| 第110行: | 第110行: | ||
</characteristics> | </characteristics> | ||
|} | |} | ||
{{ | {{CharacteristicsTable/Note|重力场对雪球弹丸的下坠影响,导致雪球沿抛物线下坠。}} | ||
{|class="wikitable-modern default" style="width:60%" | {|class="wikitable-modern default" style="width:60%" | ||
|- | |- | ||
| 第119行: | 第119行: | ||
</characteristics> | </characteristics> | ||
|} | |} | ||
{{ | {{CharacteristicsTable/Note|完全装填前蓄力递增的阶段档位数。}} | ||
{|class="wikitable-modern default" style="width:60%" | {|class="wikitable-modern default" style="width:60%" | ||
|- | |- | ||
| 第128行: | 第128行: | ||
</characteristics> | </characteristics> | ||
|} | |} | ||
{{ | {{CharacteristicsTable/Note|炮管与坦克底盘水平面所能形成的最大向上夹角。}} | ||
{|class="wikitable-modern default" style="width:60%" | {|class="wikitable-modern default" style="width:60%" | ||
|- | |- | ||
| 第137行: | 第137行: | ||
</characteristics> | </characteristics> | ||
|} | |} | ||
{{ | {{CharacteristicsTable/Note|炮管与坦克底盘水平面所能形成的最大向下夹角。}} | ||
{|class="wikitable-modern default" style="width:60%" | {|class="wikitable-modern default" style="width:60%" | ||
|- | |- | ||
| 第146行: | 第146行: | ||
</characteristics> | </characteristics> | ||
|} | |} | ||
{{ | {{CharacteristicsTable/Note|坦克重生后炮管默认抬起的基准初始仰角。}} | ||
{|class="wikitable-modern active" style="width:60%" | {|class="wikitable-modern active" style="width:60%" | ||
|- | |- | ||
| 第155行: | 第155行: | ||
</characteristics> | </characteristics> | ||
|} | |} | ||
{{ | {{CharacteristicsTable/Note|炮弹直接命中目标时产生的物理冲击位移力度。}} | ||
{|class="wikitable-modern" style="width:60%" | {|class="wikitable-modern" style="width:60%" | ||
|- | |- | ||
| 第164行: | 第164行: | ||
</characteristics> | </characteristics> | ||
|} | |} | ||
{{ | {{CharacteristicsTable/Note|命中爆炸杀伤半径内产生的范围物理冲击力度。}} | ||
{|class="wikitable-modern default" style="width:60%" | {|class="wikitable-modern default" style="width:60%" | ||
|- | |- | ||
| 第173行: | 第173行: | ||
</characteristics> | </characteristics> | ||
|} | |} | ||
{{ | {{CharacteristicsTable/Note|击发时对自身底盘产生的后坐反冲推力。}} | ||
{|class="wikitable-modern default" style="width:60%" | {|class="wikitable-modern default" style="width:60%" | ||
|- | |- | ||
| 第182行: | 第182行: | ||
</characteristics> | </characteristics> | ||
|} | |} | ||
{{ | {{CharacteristicsTable/Note|命中点周围造成暴击伤害的判定半径。超出该距离的目标仅承受常规爆炸伤害。}} | ||
{|class="wikitable-modern default" style="width:60%" | {|class="wikitable-modern default" style="width:60%" | ||
|- | |- | ||
| 第191行: | 第191行: | ||
</characteristics> | </characteristics> | ||
|} | |} | ||
{{ | {{CharacteristicsTable/Note|命中点周围造成 100% 满额爆炸伤害的半径范围。超出该距离后伤害逐步递减。}} | ||
{|class="wikitable-modern default" style="width:60%" | {|class="wikitable-modern default" style="width:60%" | ||
|- | |- | ||
| 第200行: | 第200行: | ||
</characteristics> | </characteristics> | ||
|} | |} | ||
{{ | {{CharacteristicsTable/Note|爆炸伤害随距离衰减曲线的中间过渡折点。使伤害衰减特性由线性转为类指数平滑过渡。}} | ||
{|class="wikitable-modern default" style="width:60%" | {|class="wikitable-modern default" style="width:60%" | ||
|- | |- | ||
| 第209行: | 第209行: | ||
</characteristics> | </characteristics> | ||
|} | |} | ||
{{ | {{CharacteristicsTable/Note|仍能造成爆炸伤害的最远极限边界。超出该范围将不再承受爆炸伤害。}} | ||
{|class="wikitable-modern default" style="width:60%" | {|class="wikitable-modern default" style="width:60%" | ||
|- | |- | ||
| 第218行: | 第218行: | ||
</characteristics> | </characteristics> | ||
|} | |} | ||
{{ | {{CharacteristicsTable/Note|在中间过渡爆炸杀伤半径处所承受的伤害百分比。}} | ||
{|class="wikitable-modern default" style="width:60%" | {|class="wikitable-modern default" style="width:60%" | ||
|- | |- | ||
| 第227行: | 第227行: | ||
</characteristics> | </characteristics> | ||
|} | |} | ||
{{ | {{CharacteristicsTable/Note|在极限爆炸杀伤半径边缘处所承受的最低爆炸伤害百分比。}} | ||
{|class="wikitable-modern active default" style="width:60%" | {|class="wikitable-modern active default" style="width:60%" | ||
|- | |- | ||
| 第236行: | 第236行: | ||
</characteristics> | </characteristics> | ||
|} | |} | ||
{{ | {{CharacteristicsTable/Note|炮塔上下升降调节炮管仰角的最大角速度。}} | ||
{|class="wikitable-modern default" style="width:60%" | {|class="wikitable-modern default" style="width:60%" | ||
|- | |- | ||
| 第245行: | 第245行: | ||
</characteristics> | </characteristics> | ||
|} | |} | ||
{{ | {{CharacteristicsTable/Note|炮管加速升降至最大调节速度时的加速度。}} | ||
</div> | </div> | ||
| 第251行: | 第251行: | ||
*雪人于 2021 年 12 月 24 日在“打雪仗”新年狂欢专属活动模式中登场。 | *雪人于 2021 年 12 月 24 日在“打雪仗”新年狂欢专属活动模式中登场。 | ||
*在触发暴击射击时,雪人发射的不再是白雪球,而是金黄色的巨大雪球,并会在命中后瞬间对敌人施加全套致命的[[状态效果]]:[[File:Icon_breaking_through.png|link=]] “穿甲”、[[File:Icon_EMP.png|link=]] “电磁脉冲”、[[File:Icon_jammer.png|20px|link=]] “干扰器”以及 [[File:Icon_Stun.png|link=]] “眩晕”。 | *在触发暴击射击时,雪人发射的不再是白雪球,而是金黄色的巨大雪球,并会在命中后瞬间对敌人施加全套致命的[[状态效果]]:[[File:Icon_breaking_through.png|link=]] “穿甲”、[[File:Icon_EMP.png|link=]] “电磁脉冲”、[[File:Icon_jammer.png|20px|link=]] “干扰器”以及 [[File:Icon_Stun.png|link=]] “眩晕”。 | ||
{{LastEdit}} | {{LastEdit}} | ||
2026年10月5日 (一) 14:37的最新版本



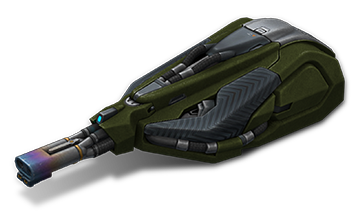
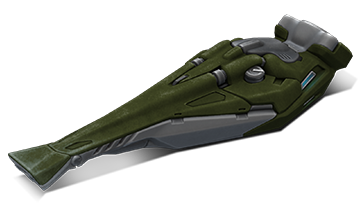
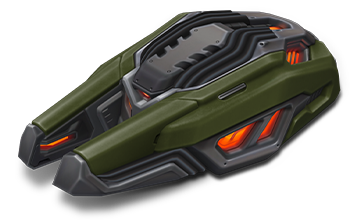
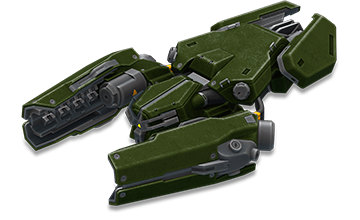
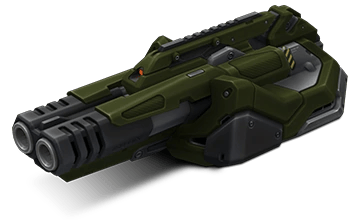
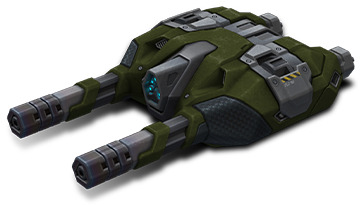
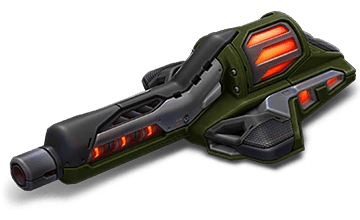
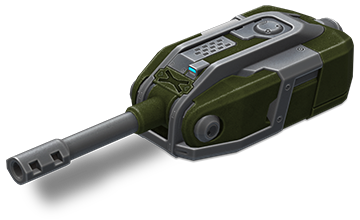
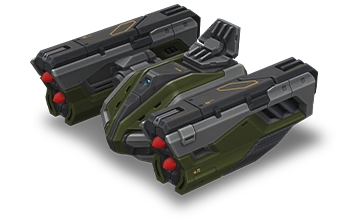
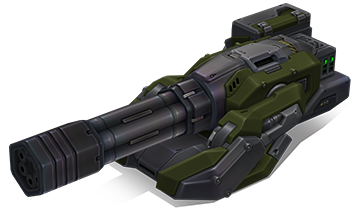
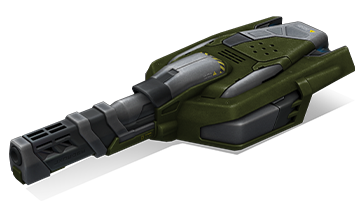
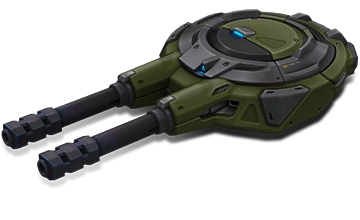
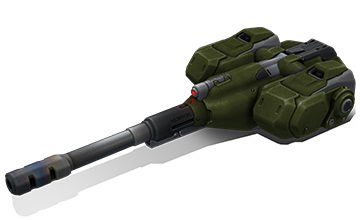
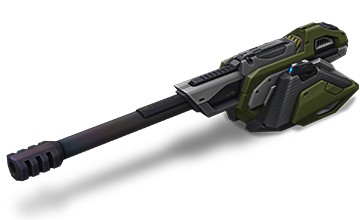
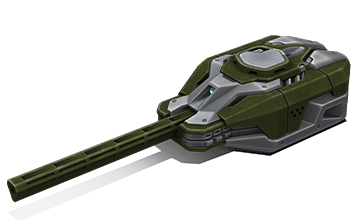
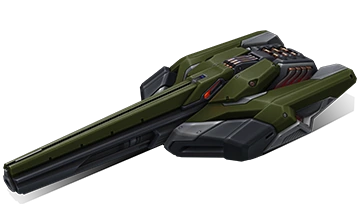
描述

 伤害
伤害 暴击伤害
暴击伤害 射程
射程 旋转速度
旋转速度 冲击力
冲击力
玩家评测
武器优点
具备隔山高抛曲射能力。装填极快。命中暴击时会同步对目标叠加眩晕、穿甲、干扰器与电磁脉冲全套异常状态。
武器缺点
近距离引爆存在高额溅射自伤。
属性参数
| 雪人 | MK1 – MAX |

|
伤害 (hp) | 999 |
炮塔单发射击对目标造成的伤害。

|
暴击伤害 (hp) | 999 |
炮塔单发暴击时对目标造成的伤害。

|
暴击率 (%) | 20 |
对敌人造成暴击伤害的概率。

|
装填时间 (秒) | 1,5 |
连续射击之间的停顿间隔时间。
| 蓄力增幅时间 (秒) | 0,8 |
将蓄能等级蓄至满级所需的蓄力时间。

|
最低弹丸初速 (米/秒) | 17 |
在最低蓄力状态下击发时雪球的初速度。
|
|
最高弹丸初速 (米/秒) | 37 |
在最高蓄能状态下击发时雪球的初速度。
| 目标高亮索敌距离 (米) | 60 |
瞄准时敌方目标保持高亮显示的最远距离。
| 弹头半径 (米) | 1 |
弹丸几何中心至其碰撞边界的半径。弹丸与目标的间距在此范围内即可判定命中造成伤害。
| 重力对弹丸影响加速度 (度) | 3 |
重力场对雪球弹丸的下坠影响,导致雪球沿抛物线下坠。
| 蓄能阶梯档位数 | 20 |
完全装填前蓄力递增的阶段档位数。
| 最大炮管仰角 (度) | 90 |
炮管与坦克底盘水平面所能形成的最大向上夹角。
| 最小炮管俯角 (度) | 0 |
炮管与坦克底盘水平面所能形成的最大向下夹角。
| 初始炮管角度 (度) | 30 |
坦克重生后炮管默认抬起的基准初始仰角。

|
弹丸直击冲击力 (标准单位) | 5 |
炮弹直接命中目标时产生的物理冲击位移力度。
| 爆炸冲击力 (标准单位) | 5 |
命中爆炸杀伤半径内产生的范围物理冲击力度。
| 后坐力 (标准单位) | 3 |
击发时对自身底盘产生的后坐反冲推力。
| 暴击爆炸杀伤半径 (米) | 5 |
命中点周围造成暴击伤害的判定半径。超出该距离的目标仅承受常规爆炸伤害。
| 全额爆炸杀伤半径 (米) | 5 |
命中点周围造成 100% 满额爆炸伤害的半径范围。超出该距离后伤害逐步递减。
| 中间过渡爆炸杀伤半径 (米) | 4 |
爆炸伤害随距离衰减曲线的中间过渡折点。使伤害衰减特性由线性转为类指数平滑过渡。
| 极限爆炸杀伤半径 (米) | 5 |
仍能造成爆炸伤害的最远极限边界。超出该范围将不再承受爆炸伤害。
| 中间过渡爆炸伤害比例 (%) | 50 |
在中间过渡爆炸杀伤半径处所承受的伤害百分比。
| 极限边缘爆炸伤害比例 (%) | 3 |
在极限爆炸杀伤半径边缘处所承受的最低爆炸伤害百分比。

|
炮管俯仰角调节速度 (度/秒) | 147,3 |
炮塔上下升降调节炮管仰角的最大角速度。
| 炮管俯仰角调节加速度 (度/秒²) | 147,3 |
炮管加速升降至最大调节速度时的加速度。
趣闻轶事
- 雪人于 2021 年 12 月 24 日在“打雪仗”新年狂欢专属活动模式中登场。
- 在触发暴击射击时,雪人发射的不再是白雪球,而是金黄色的巨大雪球,并会在命中后瞬间对敌人施加全套致命的状态效果:
 “穿甲”、
“穿甲”、 “电磁脉冲”、
 “干扰器”以及
  “眩晕”。
“眩晕”。
最后编辑:2026/10/05 Wiki-editor-3dtank